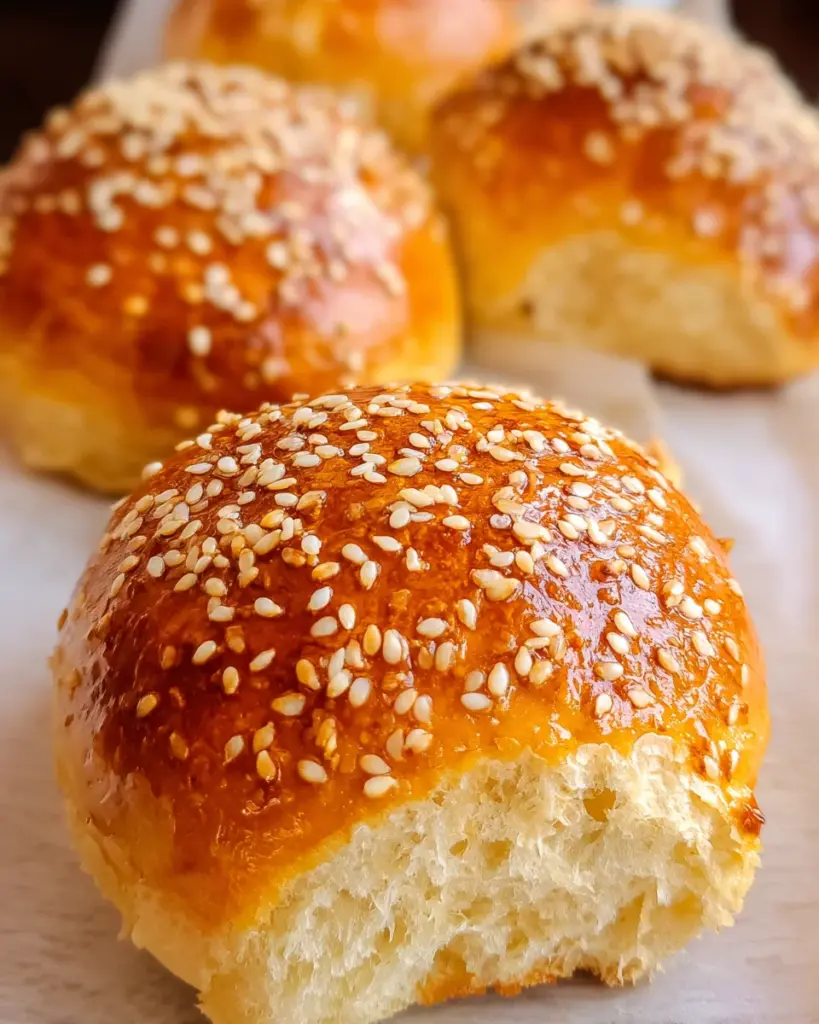
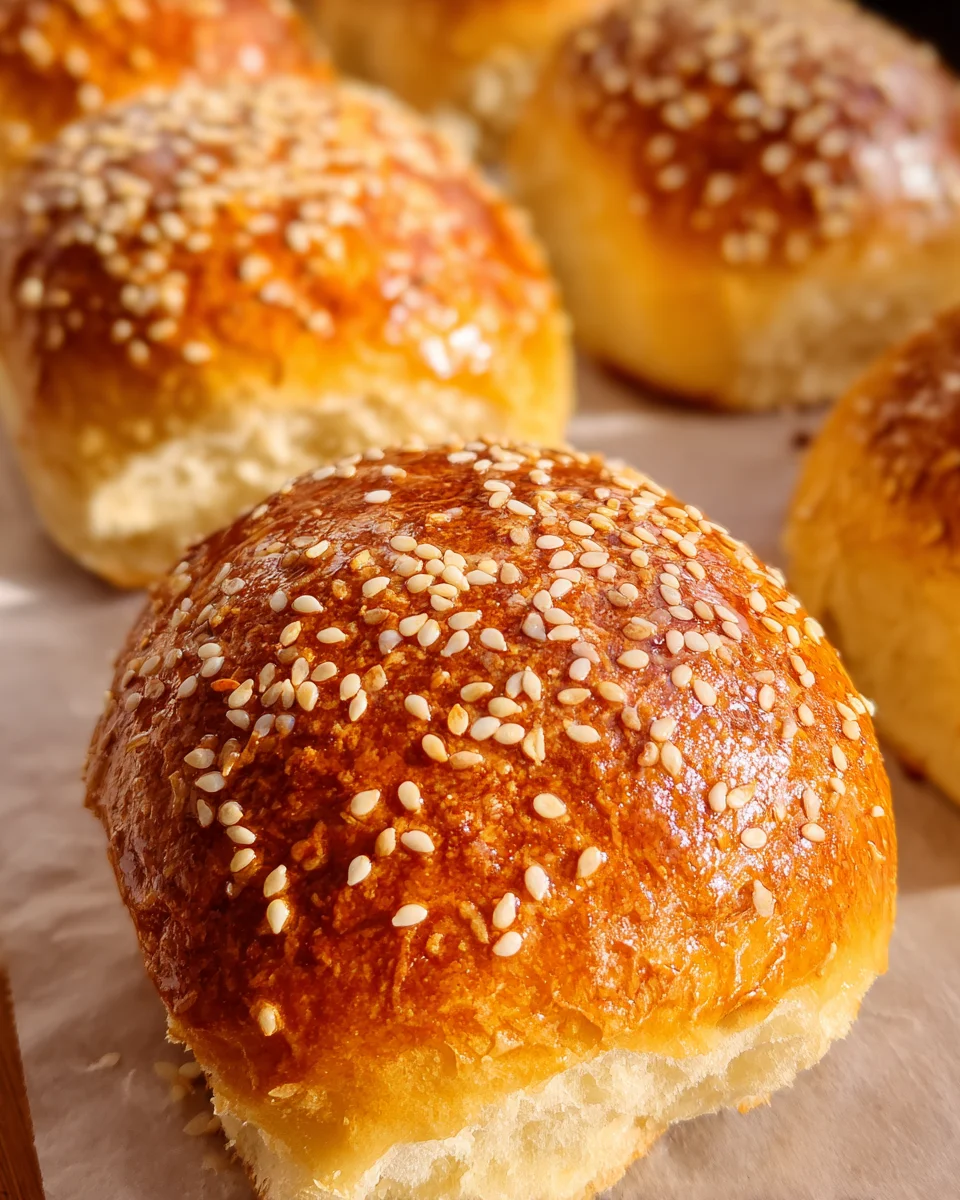
Homemade Slider Buns are a delightful treat that brings bakery-quality softness right to your kitchen. Perfect for various occasions, from casual weeknight dinners to lively game day spreads, these buns are incredibly versatile. Their golden color and fluffy texture make them ideal for holding all your favorite fillings, whether it’s delicious grilled chicken, savory turkey burgers, or fresh veggies. With simple ingredients and straightforward steps, you’ll find this recipe easy to master.
Why You’ll Love This Recipe
- Beginner-Friendly: This recipe is simple enough for anyone to try, even if you’re new to baking.
- Versatile Use: These slider buns can be paired with a variety of fillings, making them perfect for any meal.
- Customizable Toppings: You can easily switch up the toppings or add herbs and spices to suit your taste.
- Freshly Baked Flavor: Nothing beats the aroma of freshly baked bread wafting through your home.
- Perfect for Sharing: With 8 buns in one batch, they are great for gatherings or family meals.
Tools and Preparation
Before you dive into making these delicious slider buns, gather a few essential tools that will make the process smoother.
Essential Kitchen Tools
- Mixing bowl
- Measuring cups and spoons
- Whisk
- Baking pan
- Parchment paper
- Clean kitchen towel or plastic wrap
Why These Tools Matter
- Mixing Bowl: A sturdy bowl is essential for combining ingredients without spills.
- Baking Pan: A good-quality baking pan ensures even cooking and browning of the buns.
- Parchment Paper: Using parchment paper prevents sticking and makes cleanup a breeze.
Ingredients
Soft, golden slider buns baked from scratch. Beginner-friendly and bakery-quality, these are perfect for weeknight sliders or game day spreads.
Ingredients:
– 3½ cups (420 g) all-purpose flour
– 2¼ tsps (1 packet / 7 g) RapidRise yeast (granulated)
– 2 tbsps (25 g) granulated sugar
– 1 tsp (6 g) table salt (or ¾ tsp / 4 g if using salted butter)
– 1 cup (240 ml) warm water (100–110°F / 38–43°C)
– 2 large (50 g each) eggs (room temperature, divided)
– 3 tbsps (42 g) unsalted butter (softened)
– sesame seeds (for topping)
How to Make Homemade Slider Buns
Step 1: Combine Dry Ingredients
In a large bowl, combine the flour, yeast, sugar, and salt.
Step 2: Add Wet Ingredients
Pour in the warm water (100–110°F / 38–43°C) and add 1 egg. Mix until a shaggy dough forms.
Step 3: Knead the Dough
Add the softened butter and knead until smooth and stretchy. This should take about 8–10 minutes with a mixer or 10–12 minutes by hand. If the dough feels sticky, add flour a tablespoon at a time. For dry dough, add water similarly until it comes together.
Step 4: First Rise
Cover the bowl with plastic wrap or a damp towel. Let it rise in a warm spot until doubled in size, which takes about 1 to 1½ hours.
Step 5: Shape the Buns
Punch down the dough and divide it into 8 equal pieces. Flatten each piece slightly, tuck edges underneath, and roll into balls. Place them on a parchment-lined baking pan with space between each.
Step 6: Second Rise
Cover loosely again and let rise until puffy and nearly doubled—about 45 to 60 minutes.
Step 7: Prepare for Baking
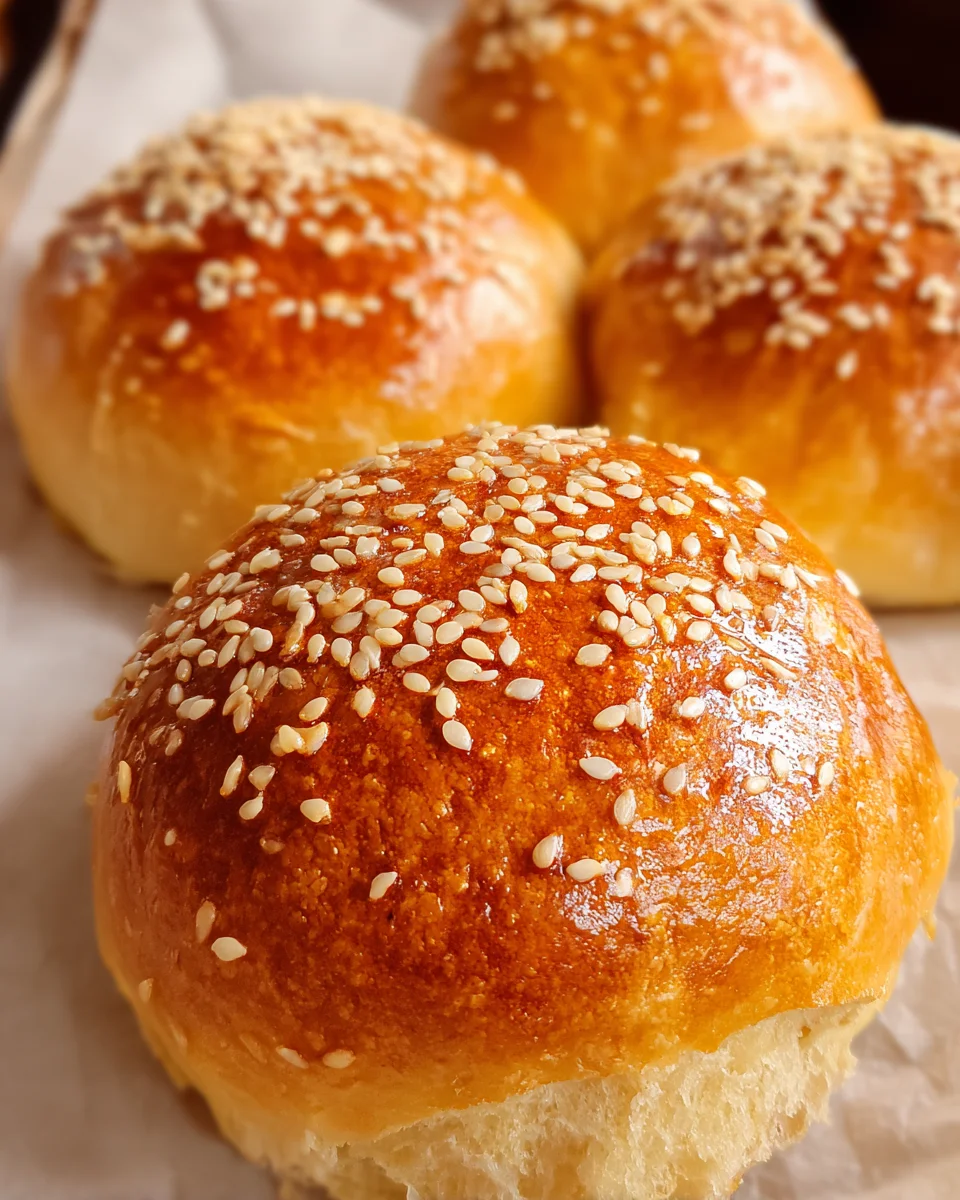
Whisk the second egg with water and brush it over the tops of the buns. Generously sprinkle sesame seeds on top.
Step 8: Bake Buns
Bake at 375°F (190°C) for about 18–22 minutes until golden brown and glossy. Allow them to cool for about 10 minutes before serving.
How to Serve Homemade Slider Buns
Homemade slider buns are versatile and can complement a variety of dishes. Whether you’re hosting a gathering or enjoying a casual meal at home, these buns can elevate your dining experience.
Classic Sliders
- Beef Sliders: Juicy beef patties seasoned with salt and pepper, topped with cheese, lettuce, and tomato.
- Chicken Sliders: Grilled or fried chicken breast served with mayo and pickles for a delightful crunch.
- Turkey Sliders: Flavorful turkey patties paired with avocado and spicy mayo for a fresh twist.
Vegetarian Options
- Mushroom Sliders: Grilled portobello mushrooms seasoned with balsamic vinegar and topped with fresh herbs.
- Chickpea Patties: Crispy chickpea patties flavored with cumin and coriander, served with tzatziki sauce.
- Caprese Sliders: Fresh mozzarella, basil, and tomato slices drizzled with balsamic glaze for an Italian flair.
Dips and Spreads
- Garlic Aioli: Creamy garlic aioli spread that adds richness to your sliders.
- Spicy Sriracha Mayo: A zesty kick that pairs well with any slider filling.
How to Perfect Homemade Slider Buns
Getting the perfect homemade slider buns is all about technique and attention to detail. Follow these tips to ensure your buns turn out beautifully every time.
- Use warm water: Ensure the water temperature is between 100–110°F (38–43°C) to activate the yeast effectively.
- Knead thoroughly: Kneading the dough until it’s smooth and elastic helps develop gluten for better texture.
- Let it rise properly: Be patient during the rising times; this step is crucial for fluffy buns.
- Don’t skip the egg wash: Brushing the tops with egg wash before baking gives the buns a lovely golden color.
- Check oven temperature: Use an oven thermometer to ensure accurate baking temperatures for even cooking.
- Cool before serving: Allowing the buns to cool slightly after baking helps maintain their structure when filled.
Best Side Dishes for Homemade Slider Buns
Serving homemade slider buns can be even more enjoyable when paired with delicious side dishes. Here are some great options to consider.
- Sweet Potato Fries: Crispy on the outside and soft inside, these fries make a nutritious side.
- Coleslaw: A tangy coleslaw adds crunch and freshness that complements rich sliders well.
- Potato Salad: Creamy potato salad is a classic choice that balances flavors perfectly.
- Pickles: A side of dill pickles provides a crunchy, tangy contrast to savory sliders.
- Corn on the Cob: Grilled corn brushed with butter offers a sweet flavor that pairs beautifully with sliders.
- Garden Salad: A light garden salad brings freshness to your meal while balancing heavier fillings.
Common Mistakes to Avoid
Making homemade slider buns can be a delightful experience, but there are some common pitfalls to watch out for.
- Boldly skipping the yeast proofing: If you skip this step, your buns may not rise well. Always ensure the yeast is activated in warm water before mixing it with the dry ingredients.
- Boldly ignoring dough consistency: A shaggy and sticky dough can lead to dense buns. Adjust flour or water gradually until you achieve a smooth, stretchy texture.
- Boldly underestimating rising time: Rushing the rising process can affect the flavor and texture. Allow the dough to double in size for the best results.
- Boldly overcrowding the baking pan: Placing the dough balls too close together can hinder their rise. Leave adequate space between each bun on the baking sheet.
- Boldly skipping egg wash: Not brushing the tops with an egg wash can result in less shiny and appealing buns. Always brush before baking for a golden finish.
Refrigerator Storage
- Buns can be stored in an airtight container for up to 3 days in the refrigerator.
- Place parchment paper between layers to prevent sticking.
Freezing Homemade Slider Buns
- Freeze buns in a freezer-safe bag or container for up to 3 months.
- Make sure they are completely cooled before sealing them to avoid condensation.
Reheating Homemade Slider Buns
- Bold Oven method: Preheat oven to 350°F (175°C) and heat buns wrapped in foil for 10-15 minutes until warm.
- Bold Microwave method: Heat individual buns on a microwave-safe plate for 10-15 seconds. Be careful not to overheat, as this can make them tough.
- Bold Stovetop method: Lightly toast on a skillet over low heat until warmed through, adding butter if desired for extra flavor.

Frequently Asked Questions
How do I make Homemade Slider Buns soft?
To keep your slider buns soft, ensure you’re using enough butter and knead the dough well. Proper rising times also contribute to their tenderness.
Can I customize my Homemade Slider Buns?
Absolutely! You can add herbs, spices, or cheese into the dough for added flavor. Toppings like sesame seeds or poppy seeds also enhance their appeal.
What is the best way to serve Homemade Slider Buns?
These buns are perfect for mini sandwiches or sliders filled with chicken, turkey, or lamb. Pair them with your favorite toppings and sauces!
How long will Homemade Slider Buns last?
When stored properly, they will last up to 3 days at room temperature or even longer when frozen.
Can I use whole wheat flour instead of all-purpose flour?
Yes! You can substitute whole wheat flour for part of the all-purpose flour; however, it may alter the texture slightly, making them denser.
Conclusion
These homemade slider buns are not only easy to make but also incredibly versatile. Perfect for game day gatherings or family dinners, they lend themselves well to various fillings and toppings. Don’t hesitate to customize them according to your taste preferences!
Homemade Slider Buns
- Total Time: 42 minutes
- Yield: Makes 8 slider buns 1x
Description
Homemade Slider Buns are a delightful addition to any meal, offering bakery-quality softness right from your kitchen. These fluffy buns are versatile enough for casual weeknight dinners or lively game day spreads, perfectly holding all your favorite fillings—from juicy grilled chicken and savory turkey burgers to fresh veggies. With simple ingredients and easy-to-follow steps, this recipe is beginner-friendly and sure to impress family and friends alike. The warm aroma of freshly baked bread will fill your home, making every bite irresistible. Enjoy these buns at gatherings or cozy family meals, and don’t forget to customize them with your favorite toppings!
Ingredients
- 3½ cups all-purpose flour
- 2¼ teaspoons RapidRise yeast
- 2 tablespoons granulated sugar
- 1 teaspoon table salt
- 1 cup warm water (100–110°F)
- 2 large eggs (divided)
- 3 tablespoons unsalted butter (softened)
- Sesame seeds (for topping)
Instructions
- In a large bowl, combine flour, yeast, sugar, and salt.
- Pour in warm water and add one egg; mix until a shaggy dough forms.
- Add softened butter; knead the dough until smooth and stretchy (8–10 minutes with a mixer or 10–12 minutes by hand).
- Cover the bowl with plastic wrap or a damp towel and let the dough rise in a warm place until doubled in size (1 to 1½ hours).
- Punch down the dough, divide it into 8 pieces, shape them into balls, and place on a parchment-lined baking pan.
- Loosely cover the buns and let them rise again until puffy (45 to 60 minutes).
- Whisk the second egg with water; brush over the tops of the buns and sprinkle with sesame seeds.
- Bake at 375°F for 18–22 minutes until golden brown; cool for about 10 minutes before serving.
- Prep Time: 20 minutes
- Cook Time: 22 minutes
- Category: Bread
- Method: Baking
- Cuisine: American
Nutrition
- Serving Size: 1 bun (60g)
- Calories: 150
- Sugar: 2g
- Sodium: 170mg
- Fat: 4g
- Saturated Fat: 2g
- Unsaturated Fat: 2g
- Trans Fat: 0g
- Carbohydrates: 25g
- Fiber: 1g
- Protein: 4g
- Cholesterol: 30mg