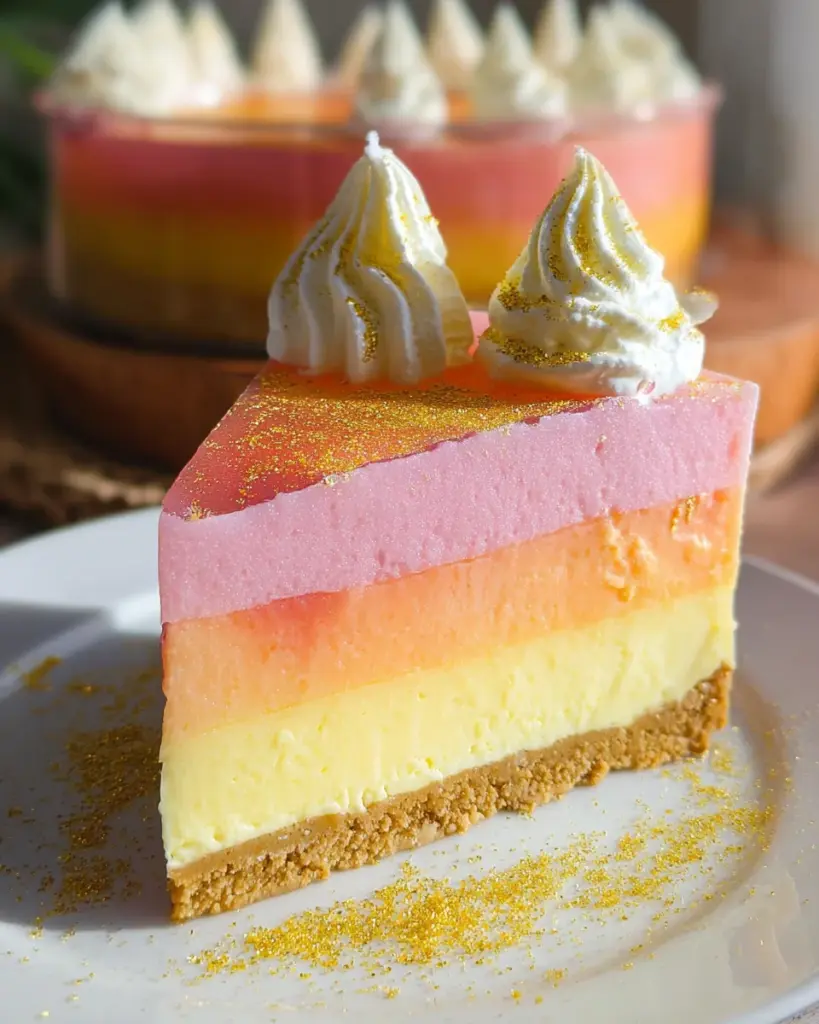
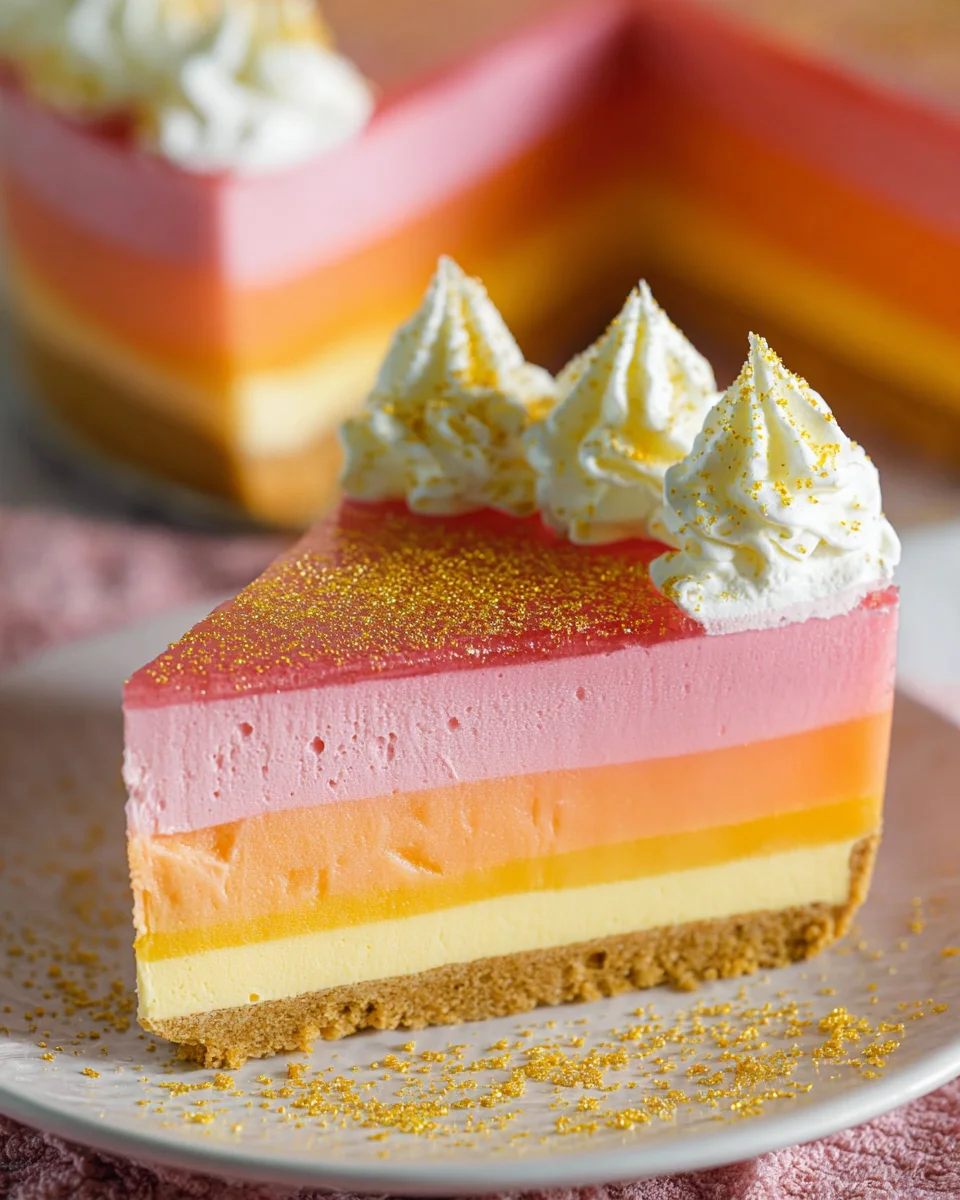
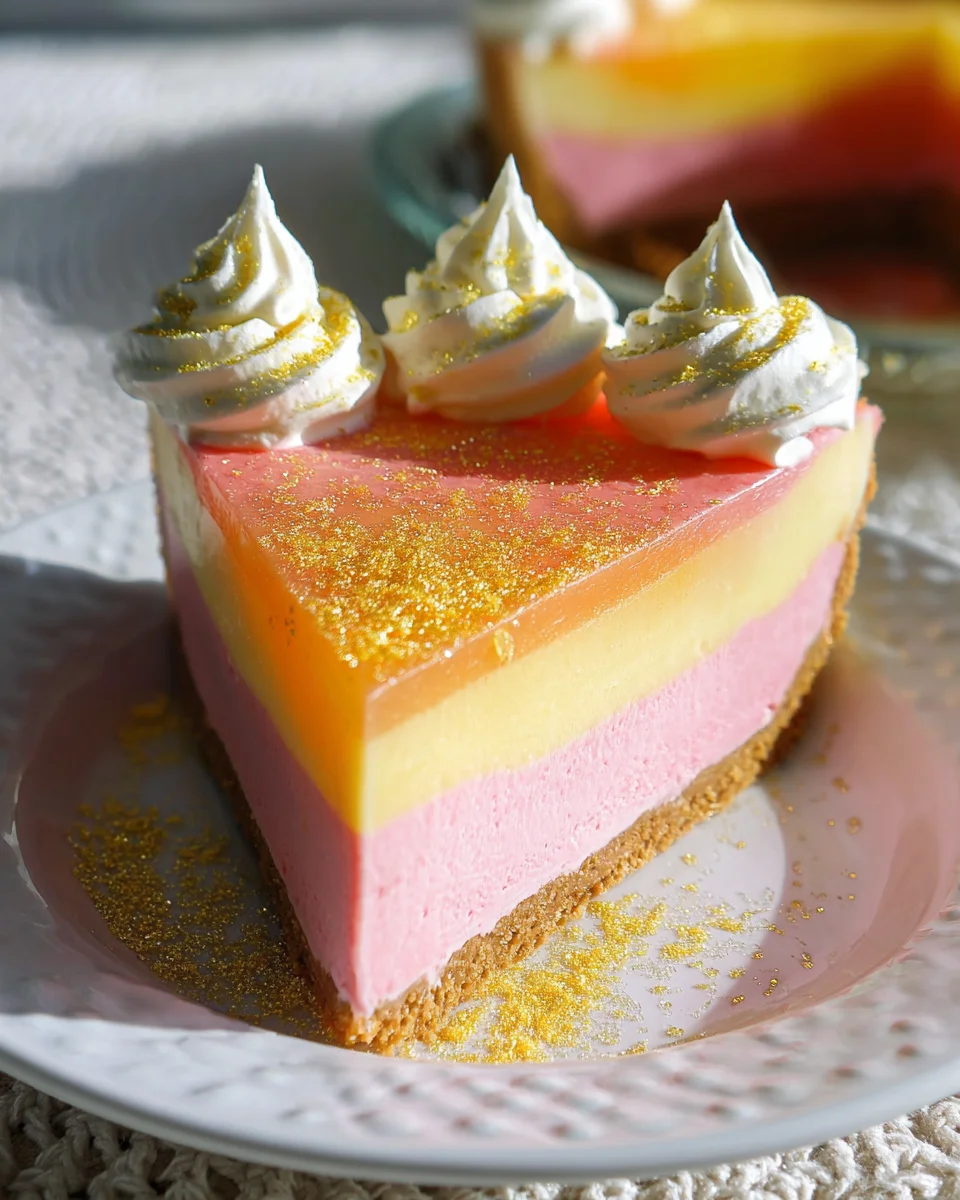
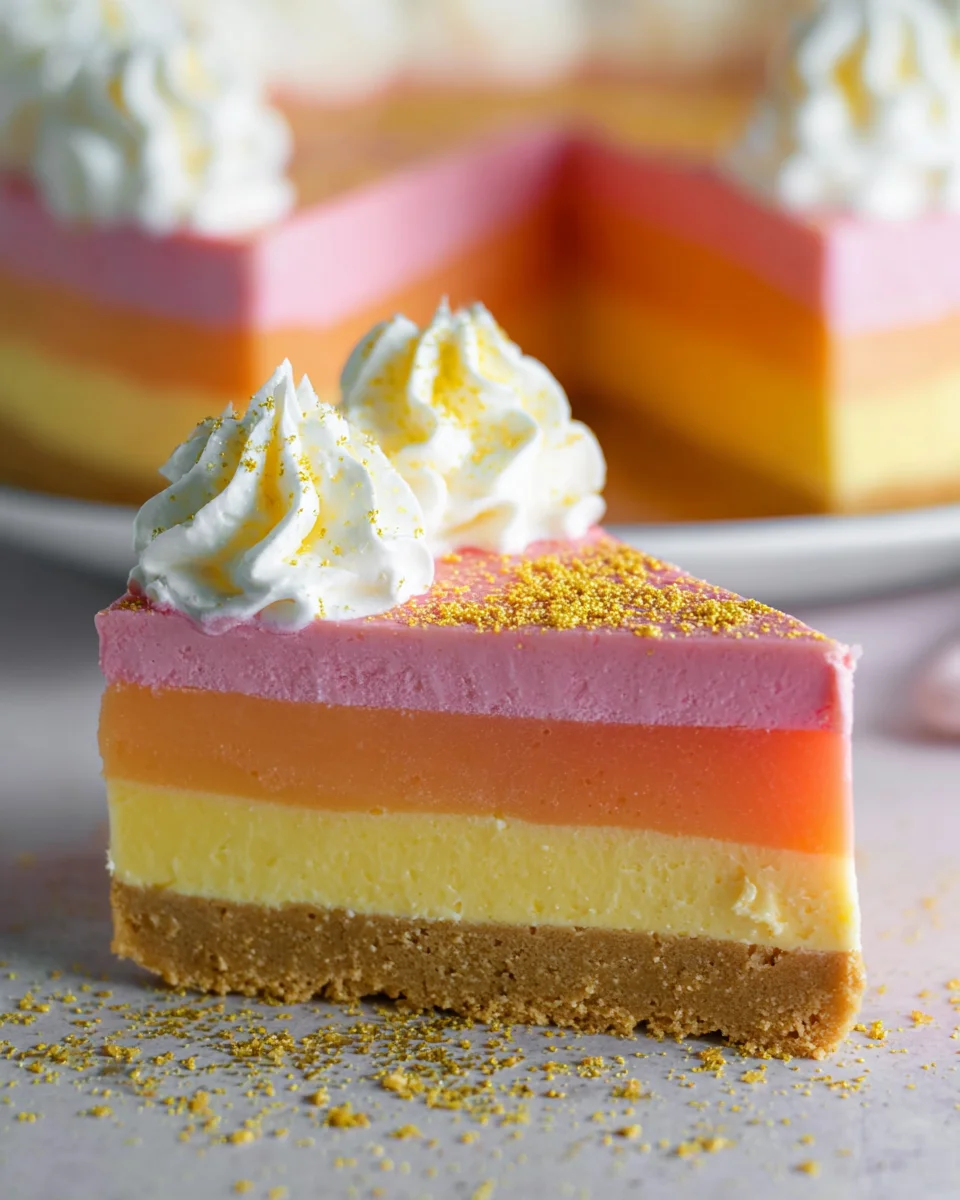
Layered Jello Pie is the perfect dessert for any warm weather occasion. This delightful treat combines a fluffy jello mixture with a crunchy graham cracker crust, making it a cool and creamy indulgence that everyone will love. Ideal for picnics, birthday parties, or just a refreshing end to a summer meal, this pie stands out with its vibrant colors and fun texture. Easy to prepare, it’s a great way to bring joy to your table.
Why You’ll Love This Recipe
- Easy Preparation: With minimal cooking required, you can whip this up in no time.
- Vibrant Appearance: The colorful layers make it visually appealing for any gathering.
- Refreshing Flavor: The lightness of jello combined with whipped cream offers a delightful taste.
- Versatile Layers: Customize the flavors and colors to match seasonal themes or personal preferences.
- No Baking Required: Perfect for those hot days when you want to avoid turning on the oven.
Tools and Preparation
To create your Layered Jello Pie efficiently, you’ll need some essential kitchen tools that streamline the process.
Essential Kitchen Tools
- Food Processor
- Mixing Bowls
- Measuring Cups
- Springform Pan
- Whisk
Why These Tools Matter
- Food Processor: Makes crushing graham crackers quick and easy.
- Mixing Bowls: Helps keep different jello layers separate while mixing.
- Springform Pan: Allows for easy removal of the pie without damaging the crust.
Ingredients
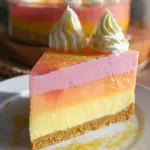
Layered Jello Pie is a quick and easy warm weather dessert that is filled with a fluffy jello mixture inside a graham cracker crust. Cool and creamy, it’s perfectly refreshing for spring and summer.
Ingredients:
– 24 ounces Whipped Cream
– 1 box Red Jello (3 ounces)
– 1 box Orange Jello (3 ounces)
– 1 box Yellow Jello (3 ounces)
– 3 cups Boiling Water
– 3 cups Cold Water
– Pink Food Coloring
– Orange Food Coloring
– Bright Yellow Food Coloring
– 2 packages Graham Cracker Sheets
– 10 Tablespoons Unsalted Butter
– Whipped Cream (optional for garnish)
– Gold Sanding Sugar (optional for garnish)
How to Make Layered Jello Pie
Step 1: Prepare the Graham Cracker Crust
- Place the graham crackers in a food processor and pulse until they’re finely crushed.
- Melt your butter, then add it to the food processor with the crushed crackers.
- Mix until the mixture resembles wet sand; stop occasionally to scrape down the sides.
Step 2: Form the Crust
- Pour the graham cracker mixture into a deep dish 10-inch springform pan.
- Press it evenly across the bottom and up the sides of the pan.
- Place the crust in the freezer while preparing the jello layers.
Step 3: Prepare Each Jello Layer
- In separate bowls, place each color of jello (red, orange, and yellow) and add 1 cup of boiling water to each bowl.
- Stir until all graininess disappears; then mix in 1 cup of cold water.
- Refrigerate for about 40–50 minutes until thickened but not fully set.
Step 4: Mix in Whipped Cream
- Add 8 ounces of whipped cream to each bowl of jello and mix well until combined.
- To create vibrant colors, add corresponding food coloring until desired shades are reached.
Step 5: Assemble Your Pie
- Pour the pink layer into the prepared crust, spreading it evenly across.
- Repeat this process with yellow and orange layers, allowing each layer to set slightly before adding the next.
Step 6: Chill Until Set
- Place your layered pie in the refrigerator for at least three hours or until completely set.
- Garnish with dollops of whipped cream and sprinkle with gold sanding sugar if desired before serving.
Enjoy your delicious Layered Jello Pie!
How to Serve Layered Jello Pie
Layered Jello Pie is a delightful dessert perfect for warm days. It can be served in various creative ways to enhance its appeal and flavor.
Individual Cups
- Use small clear cups to serve individual portions of Layered Jello Pie. This presentation allows guests to see the beautiful layers.
Family Style
- Place the whole pie on the table, allowing guests to serve themselves. This adds a casual and fun element to your gathering.
With Fresh Fruit
- Garnish each slice with fresh fruit, such as strawberries or blueberries, for an added burst of flavor and color.
Topped with Whipped Cream
- Serve slices topped with dollops of whipped cream. This elevates the dessert’s creaminess and makes it even more indulgent.
On a Picnic
- Slice the pie into portable pieces and pack them in a cooler for a refreshing picnic treat on a sunny day.
How to Perfect Layered Jello Pie
To ensure your Layered Jello Pie turns out perfectly every time, consider these helpful tips:
- Chill your ingredients: Make sure your whipped cream and water are cold before mixing. This helps achieve that light and fluffy texture.
- Layer slowly: Pour each layer gently over the back of a spoon onto the previous layer. This prevents mixing and keeps your layers distinct.
- Timing is key: Allow each layer to partially set before adding the next one. This ensures clean lines between colors.
- Use quality ingredients: High-quality whipped cream and fresh food coloring will enhance both flavor and appearance.
- Experiment with colors: Don’t hesitate to mix different colors of jello or use natural dyes for a unique twist on this classic dessert.
Best Side Dishes for Layered Jello Pie
Pairing side dishes with your Layered Jello Pie can create a well-rounded meal experience. Here are some delicious options:
- Fresh Garden Salad
A light salad with mixed greens, cucumbers, and cherry tomatoes offers a refreshing contrast to the sweetness of the pie. - Fruit Skewers
Colorful skewers made from seasonal fruits provide a vibrant addition that complements the jello’s flavors beautifully. - Grilled Chicken Strips
Tender grilled chicken strips add protein to your meal while balancing out the dessert’s sweetness. - Vegetable Platter
A platter filled with assorted raw vegetables paired with hummus or ranch dressing makes for a crunchy side option. - Cheese Board
Offer an assortment of cheeses, crackers, and nuts for a savory counterpoint to the sweet jello pie. - Mini Sandwiches
Create bite-sized sandwiches using various fillings like turkey or chicken salad for easy snacking alongside dessert.
Common Mistakes to Avoid
Making a Layered Jello Pie is simple, but a few common mistakes can lead to less-than-perfect results. Here are some pitfalls to watch out for:
- Using warm water: Always use boiling water when dissolving your jello. This ensures that the jello fully dissolves and sets properly.
- Skipping the chilling time: Give your jello enough time to thicken before adding layers. This helps prevent colors from bleeding into each other.
- Overmixing whipped cream: When adding whipped cream to the jello, mix gently. Overmixing can deflate the whipped cream and make the pie less fluffy.
- Not pressing the crust firmly: Ensure that your graham cracker crust is pressed tightly into the pan. A loose crust may crumble when slicing.
- Using food coloring sparingly: For vibrant layers, don’t hesitate to add enough food coloring until you reach your desired shade.
Refrigerator Storage
- Store any leftover Layered Jello Pie in an airtight container.
- It will last up to 5 days in the refrigerator.
Freezing Layered Jello Pie
- You can freeze Layered Jello Pie if wrapped properly.
- Freeze for up to 2 months for best quality.
Reheating Layered Jello Pie
- Oven: Not recommended as it can melt the layers and ruin texture.
- Microwave: Use low power for short intervals; be careful not to heat through completely.
- Stovetop: Again, not recommended; this dessert is best served chilled.
Frequently Asked Questions
What is Layered Jello Pie?
Layered Jello Pie is a delightful no-bake dessert made with colorful jello layers set within a creamy whipped mixture and a graham cracker crust.
How do I customize my Layered Jello Pie?
You can customize your pie by changing the flavors of jello or using different colors. Adding fresh fruits on top can also enhance its taste and appearance.
Can I make Layered Jello Pie ahead of time?
Yes! It’s perfect for making ahead. Just store it in the fridge, and it will stay fresh for several days.
Is there a way to make this dessert healthier?
You can use low-sugar jello options or substitute lighter whipped toppings to reduce calories while maintaining flavor.
Conclusion
Layered Jello Pie is an easy and refreshing dessert that’s perfect for warm weather gatherings. Its vibrant colors and customizable flavors make it a crowd-pleaser. Try experimenting with different jello flavors or garnishing options for a unique twist!
Layered Jello Pie
- Total Time: 0 hours
- Yield: Serves approximately 12 slices 1x
Description
Layered Jello Pie is an irresistible dessert perfect for warm weather gatherings. This delightful no-bake treat features vibrant layers of fluffy jello combined with a crunchy graham cracker crust, creating a refreshing and visually stunning indulgence.
Ingredients
- 24 ounces Whipped Cream
- 1 box Red Jello (3 ounces)
- 1 box Orange Jello (3 ounces)
- 1 box Yellow Jello (3 ounces)
- 3 cups Boiling Water
- 3 cups Cold Water
- Pink Food Coloring
- Orange Food Coloring
- Bright Yellow Food Coloring
- 2 packages Graham Cracker Sheets
- 10 Tablespoons Unsalted Butter
Instructions
- Prepare the graham cracker crust by crushing the graham crackers in a food processor. Mix with melted butter until it resembles wet sand.
- Press the mixture into a springform pan to form the crust and freeze while preparing the jello.
- In separate bowls, dissolve each flavor of jello in boiling water, then add cold water and refrigerate until thickened but not fully set.
- Fold whipped cream into each jello mixture and add food coloring as desired.
- Layer the jello mixtures into the prepared crust, letting each layer set slightly before adding the next.
- Chill in the refrigerator for at least three hours before serving.
- Prep Time: 30 minutes
- Cook Time: N/A
- Category: Dessert
- Method: No-Bake
- Cuisine: American
Nutrition
- Serving Size: 1 serving
- Calories: 190
- Sugar: 20g
- Sodium: 120mg
- Fat: 9g
- Saturated Fat: 5g
- Unsaturated Fat: 3g
- Trans Fat: 0g
- Carbohydrates: 27g
- Fiber: 0g
- Protein: 2g
- Cholesterol: 25mg